Overview:
Once you have FreeAgent connected to EdgeCTP you’re pretty much good to create an invoice in EdgeCTP and, with one click, copy it to FreeAgent. If you haven’t connected FreeAgent to EdgeCTP then see ‘How to Connect EdgeCTP to FreeAgent‘ and come back here.
In this post you’ll learn how to:
- Create an Invoice in EdgeCTP
- Copy and view the Invoice in FreeAgent
- Settle the Invoice in either EdgeCTP or FreeAgent and track settlement in both
EdgeCTP allows you to create either a Standard Accounts Invoice or a Commercial Invoice (usually used when trading internationally and also referred to as an Export Invoice); both Standard and Commercial/Export invoices can be copied and settled within FreeAgent and the processing actions are exactly the same.
How to Create an Invoice in EdgeCTP
The following is a brief step-by-step guide that shows how to create an invoice in EdgeCTP and copy it to FreeAgent for accounting purposes. As an example, we’ll create a Commercial Invoice, because it’s slightly more complex than a Standard Accounts Invoice because you’ll need to enter a little more international trading related information onto the Commercial Invoice, apart from that the process of Invoice creation and sending to FreeAgent is the same.
Create the Invoice
Login to EdgeCTP and make sure you have the correct user role (Creator or above; note that ‘Auditor’ user roles cannot create documents/invoices).
- From the home dashboard choose from the tab menu: Docs & Certs > Financial Documents
- The ‘Financial Documents‘ dashboard will appear, choose ‘+ New Financial Docs‘ and from the drop-down choose ‘Commercial Invoice‘ (if you wanted to create a Standard Accounts Invoice, then choose ‘Standard Accounts Invoice‘ instead)
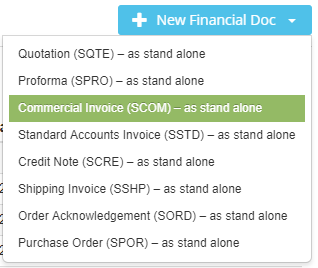
Choosing Commercial Invoice
- The invoice form/template appears ready for filling in. You can switch on/off the ‘Help Text‘ if you need assistance with knowing which fields must be completed. Mandatory fields on an invoice marked in red headings and an asterisk. Nevertheless, EdgeCTP will auto-populate as many as possible, and validate everything once you are complete, so this should be pretty straight forwards
- For an Invoice you MUST fill-in as a minimum:
- Verify the Invoice Date is correct, usually set to the current day
- Verify the Invoice Due Date is correct, usually set to 30 days (depending on your settings)
- Check the Invoice Currency is correct, usually set to your base currency and you can ‘set‘ to another + adjust the foreign currency exchange rate as requires.
- Check the Seller Details (your firm’s name + address) is correct, or ‘change‘ as requires.
- Receiver/ Consignee Details of Organisation or Person Name (i.e. who this invoice is for). Usually, put in the name of the Buyer or firm buying your goods in this Receiver/ Consignee Details section. If you’ve already got the Buyer’s details saved in EdgeCTP (i.e. you used them before in EdgeCTP) then their details become available for you to select and auto-fill the rest of the fields. There’s an option to ‘+New Person‘ or ‘+New Org.‘ if you want to create brand new contact entries in EdgeCTP’s CRM component
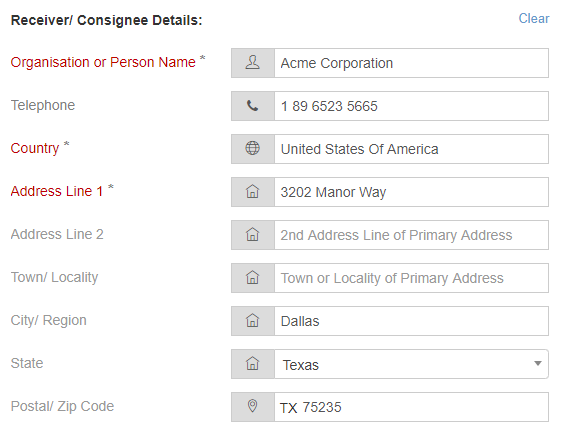
Complete Invoice Receiver/Consignee Details
- Otherwise, complete the remaining address fields of the Receiver/ Consignee Details i.e. Country and Address Line(s) etc.
- Check and complete the Country of Destination
- Check and complete the Payment Methods and Delivery Terms (Incoterms 2010)
- For Commercial Invoices only, add the Shipping Marks (external identification marks on the consignment)
- Add the Product Detail + Description line(s) for the product/service being charged for in the Invoice. If you had previously created the product, then by simply typing the name or number of the product in the Product ID field, EdgeCTP provides a selection, and once selected most of the fields are auto-populated; check that the Account is set correctly or change accordingly (these will be accounts sourced from FreeAgent); check the Units in Pack are correct and/or adjust as necessary; set the Quantity to the ordered amount; check and/or adjust the Tax % appropriately (again these are sourced from FreeAgent); if required, add any additional Product Detail + Description line(s)

Added product(s) to detail line(s)
- Check that the Invoice Total is correct, or adjust related values above the Invoice Total to set the Invoice Total amount accordingly
- For Commercial Invoices only, check and/or change the Place of Issue/Signing is correct, usually the city/location of the Seller’s (your) address
- For Commercial Invoices only, check and/or change the Date of Issue is correct, which is usually set to the current day
- Optionally, complete any other fields that you think would be appropriate (e.g. Gross Weight; Net Weight; Cubic sizing; Delivery and Other Charges etc.)
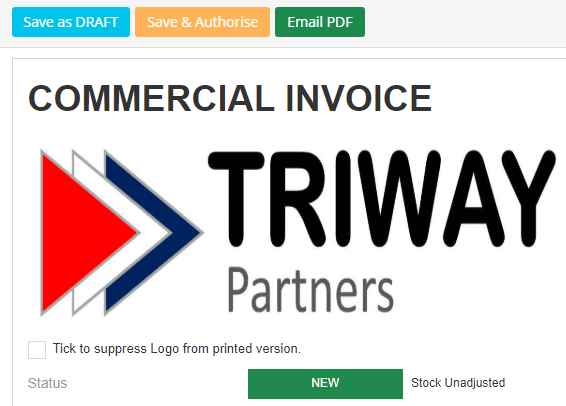
- Once complete, scroll or jump to the top of the Invoice and click the [Save & Authorise] button, which will save the invoice into EdgeCTP, and depending on if you have set 4-eyes checking on, EdgeCTP will route the invoice to another person (usually your colleague, manager or supervisor) for checking before setting the invoice status to authorised, meaning it’s good to send to the client (Buyer/Consignee)
![Click [Save & Authorize] to create the invoice](/wp-content/uploads/2019/08/Invoice_Create_In_EdgeCTP_Commercial_Invoice_New_FreeAgent-1.jpg)
Click [Save & Authorize] to create the invoice
- If a confirmation box pop’s up, you can type in a short comment (optional) and click [Save] and you’ll have an authorised invoice, good for sending to FreeAgent (see next section)
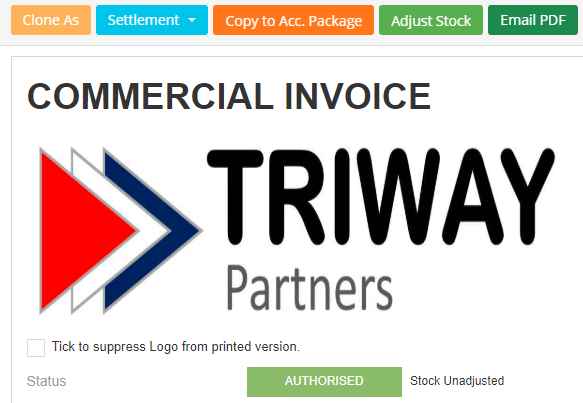
Authorised Invoice in EdgeCTP
- That’s it you’re done creating the invoice in EdgeCTP; now let’s send it to FreeAgent
Sending an Invoice to FreeAgent
- If the invoice you wish to send to FreeAgent is not open, do so by first finding it in the Docs & Certs > Financial Documents dashboard and open it in Edit mode (click the pencil icon)
- If FreeAgent is not already connected with EdgeCTP, a warning message will appear and you can click on the ‘here‘ link to establish a connection between FreeAgent and EdgeCTP (see ‘How to connect FreeAgent with EdgeCTP‘)
- The invoice appears with a status of either authorised or sent (meaning already sent to the Client/Buyer … NOT to be confused with sending to the accounting package)
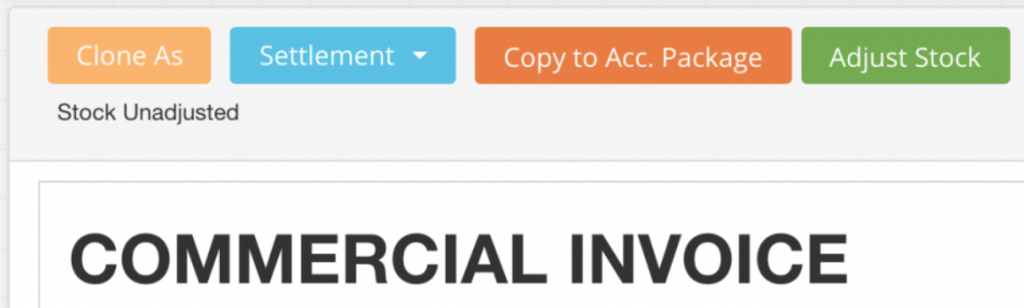
Click [Copy to Accounting Package] Button
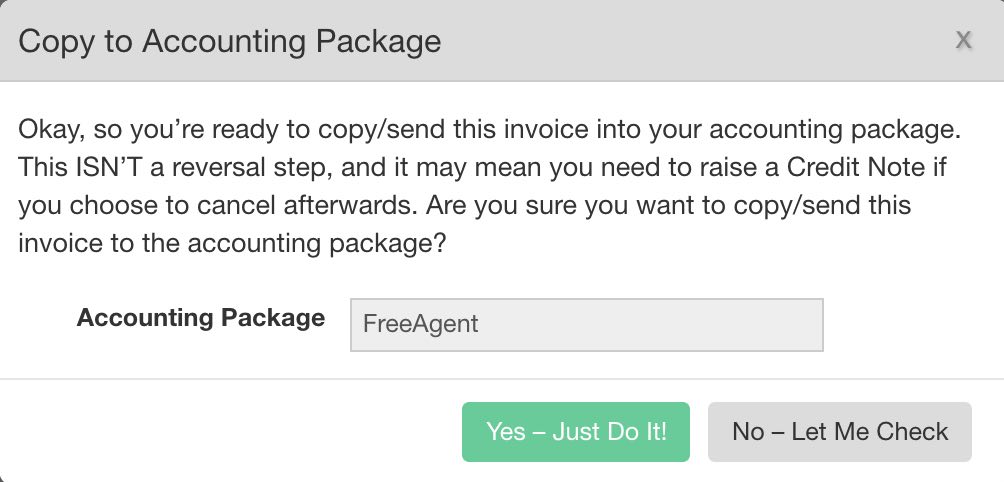
- EdgeCTP internally keeps track of whether an invoice is sent to FreeAgent or not, which means if an invoice is NOT sent to FreeAgent then the [Copy to Acc. Package] button shows, and you simply click it to show a pop-up box asking for a confirmation to copy the invoice to FreeAgent … Click [Yes – Just Do It!]. After a few moments, a few messages will appear confirming the invoice sends to FreeAgent and the invoice reappears (no status change takes place).
- Once the invoice has successfully sent to FreeAgent, then the [Go to Accounting Package] button appears, which when you click it will open up FreeAgent in a separate browser tab (if asked, login to FreeAgent)

Click ‘Go to Accounting Package’ to open FreeAgent
- The FreeAgent version of the same invoice will appear in the FreeAgent tab of your browser
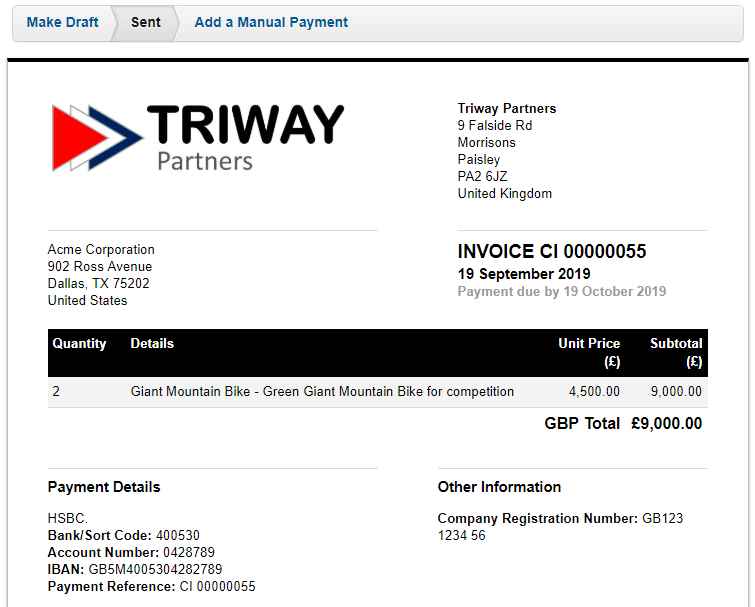
The EdgeCTP invoice appears in FreeAgent
- You can toggle between the two tabs to switch between FreeAgent and EdgeCTP, and the invoice numbers + other details should be the exact same, which saves your rekeying data between EdgeCTP and FreeAgent.
- Since, we’ll do the settlement of the invoice in EdgeCTP, let’s close the FreeAgent tab for now by pressing the ‘X’ on the right of the FreeAgent browser tab, which will bring us back into EdgeCTP ready to for settlement (next section)

Use the Browser Tabs to toggle between FreeAgent and EdgeCTP
Settling an Invoice
In this section, we’ll learn how to settle an invoice in EdgeCTP and see it automatically echoed in FreeAgent. A settlement is where monies pay towards an invoice total to clear any outstanding amounts. Settlement can be in full (i.e. clears the full invoice amount) or in part settlement (i.e. only part of an invoice amount paid). Let’s try both and see this reflects in FreeAgent and EdgeCTP seamlessly.
- If not already done so, open the invoice in EdgeCTP that you wish to settlement (either part or full) by first finding it in the Documents > Financial Documents dashboard and open it in Edit mode (click the pencil icon).
- If FreeAgent does not already connect with EdgeCTP, a warning message will appear and you can click on the ‘here‘ link to establish a connection between FreeAgent and EdgeCTP
- The invoice appears and the [Go to Accounting Package] button is available, which means that the invoice send to FreeAgent, click the [Settlement] button on the top left of the invoice page and choose either ‘Part Settlement‘ or ‘Full Settlement‘ – for this example, we’ll go with Part Settlement, so as to demonstrate the complete settlement functionality with FreeAgent
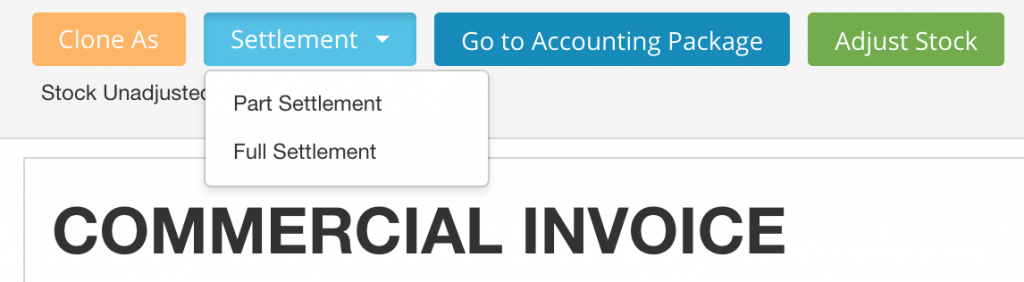
Invoice Settlement Options
- On the Confirmation pop-up, set the Payment/Settlement Amount by typing in a value less than or equal to the Total Amount and see the Remaining Balance (once you’ve clicked on a different field); click [Save] once done
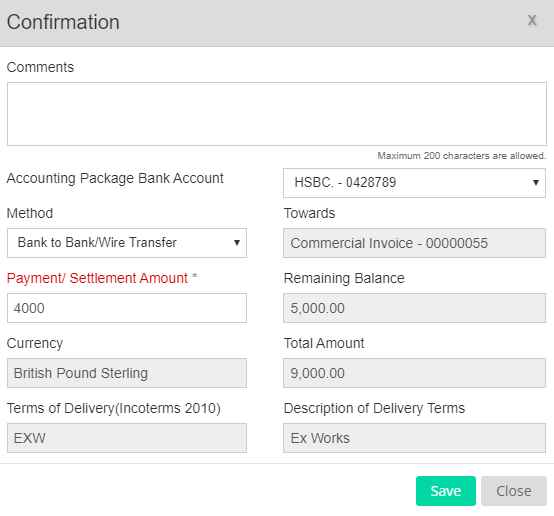
Part Settlement of Invoice in EdgeCTP
- Once the settlement amount has processes by EdgeCTP, the invoice returns with different status of either Part Settled or Fully Settled (depending on what you chose earlier).
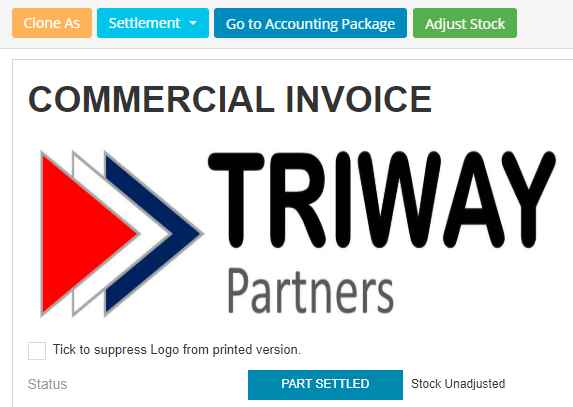
EdgeCTP Part Settled Invoice status
- You can now click the [Close] button on the invoice in EdgeCTP to return to the Financial Documents dashboard, where you’ll see the reflection of the settlement having taken place. Notice the column Acct. with a value of ‘Yes‘ to indicate that this invoice has been accounted for in FreeAgent. If you like you can click the [Sync] action icon to make sure that this Invoice properly reflects in FreeAgent (only do this manual if you suspect information hasn’t automatically flowed to FreeAgent).
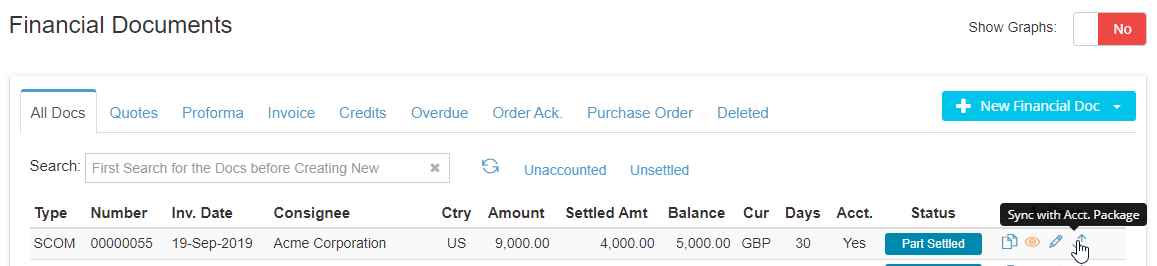
Optional: Sync settlement manually for an invoice
- Now click the [Edit] icon of the Invoice in EdgeCTP, and when it appears click [Go to Accounting Package] to open FreeAgent and see if the settlement amount was also echoed in FreeAgent (a new FreeAgent browser tab appears with the FreeAgent version of the invoice being shown – if required to login to FreeAgent, just do so).
Settlement in EdgeCTP reflects in FreeAgent
- Notice the Amount Due on the FreeAgent invoice is a reflection of the settlement amount (i.e. Less Payment received in EdgeCTP).
- To see the settlement also flow from FreeAgent to EdgeCTP, let’s do a settlement whilst we have the invoice open in FreeAgent. Do the following steps in FreeAgent:
- At the top of the FreeAgent invoice notice the progress strip of [Draft > Sent > Add a Manual Payment], click the Add a Manual Payment link.
- The ‘New Manual Bank Account Entry’ screen appears
- For the Type entry, leave it as Invoice Receipt
- For the Dates on entry, leave it as today (e.g. 19 Sep 19)
- For the Value entry, which should be the balance of the invoice due, either change it to a lesser amount or leave it as the same as the Amount Due. For this example, we change the Value to £1,000 as the amount paid, i.e. a part-payment receive into the bank and reflects into FreeAgent.
- Notice the ‘Invoice to allocate the money to‘ is the invoice create and part-settles in EdgeCTP (and showing the balance due on it).
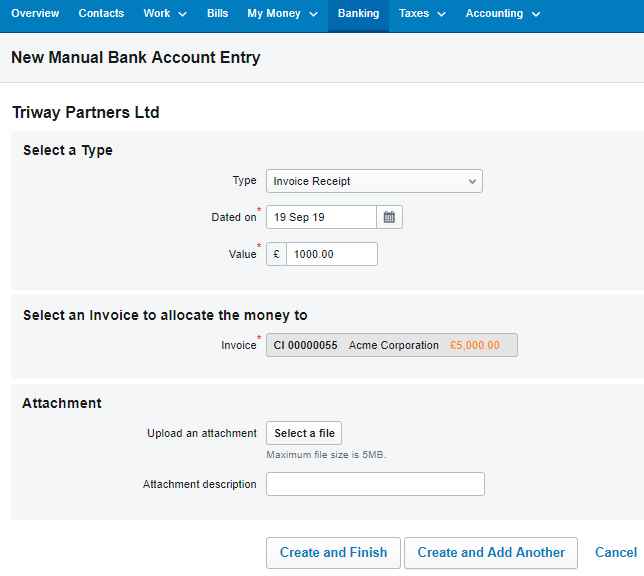
Making a part manual (via Bank) payment in FreeAgent
- Scroll down to the bottom of the FreeAgent “New Manual Bank Account Entry” screen and click the Create and Finish button.
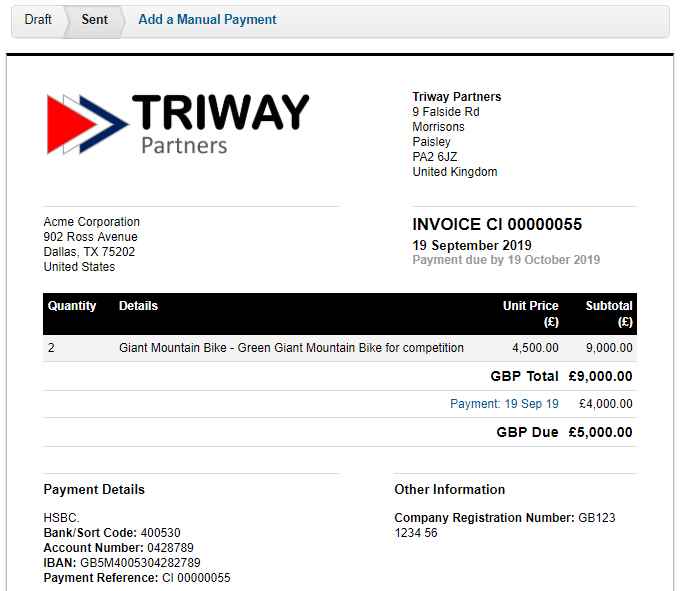
- The FreeAgent invoice re-appears with the payment reflected and new balance due.
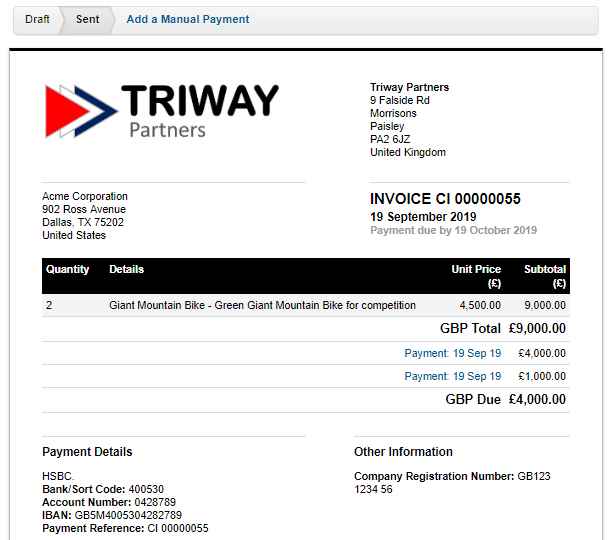
FreeAgent: Invoice with reflected payment and new balance due
Notice the Amount Due of £4,000.00 (if you settled the full Amount Due in the previous step then this will be zero).
- Now click the ‘x‘ on the top browser tab for FreeAgent to close the FreeAgent browser tab and reveal the EdgeCTP invoice once again.

Close FreeAgent browser tab and return to EdgeCTP
- To see that the FreeAgent settlement amount automatically reflects in EdgeCTP, with the relevant invoice open (you may need to refresh the page – click on the reload icon next to the address bar of your browser).
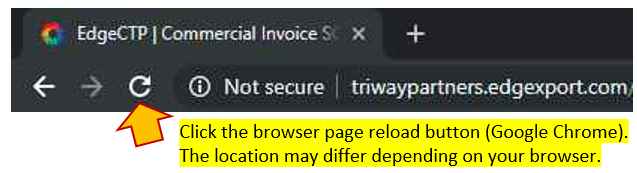
Reload the EdgeCTP invoice to auto-sync with FreeAgent
- Once the invoice has reloaded, scroll down to the bottom of the page and view the Settlement Receipts, which should be the same as that in FreeAgent.
FreeAgent settlement amount reflected back in EdgeCTP’s invoice
- If you jump back to the top of the Invoice page in EdgeCTP, and if you had settled the invoice in full, then the Invoice Status would have changed to Fully Settled too
- If you still had an outstanding amount to settle, then click the Settlement button; choose Full Settlement; notice the Payment amount is the remaining balance and click the Save button.
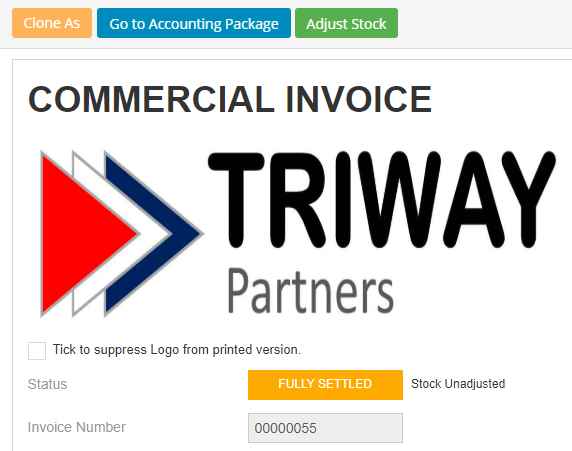
EdgeCTP: Fully Settled Invoice
- If you then click Go to Accounting Package button you’ll see the fully settled invoice in FreeAgent.
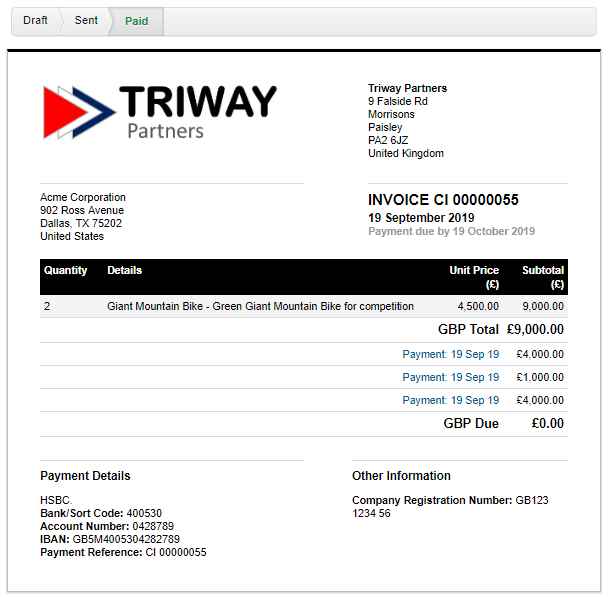
Fully Paid Invoice in FreeAgent
- If you still had an outstanding amount to settle, then click the Settlement button; choose Full Settlement; notice the Payment amount is the remaining balance and click the Save button.